Tips for Teaching Voice Levels in the Classroom
As adults, we often find ourselves reminding kids to use their “indoor voices” but that can be something different for each indoor setting! It’s hard for kindergarteners to understand these vague instructions. Help your students understand and meet your expectations by teaching voice levels in the classroom! Keep reading for tips and resources to help you with this important part of classroom management.
Why You Need Voice Level Expectations
It’s important to have voice level expectations in your classroom, especially in kindergarten. Young students who are learning in a classroom setting for the first time only have their own experiences to reference when it comes to using an “inside voice.” Some of your students might come from homes where a loud talking voice is the norm! Voice level expectations can make sure that everyone is on the same page. This is especially helpful if you find yourself with a talkative class!
5 Tips for Teaching Voice Levels in the Classroom
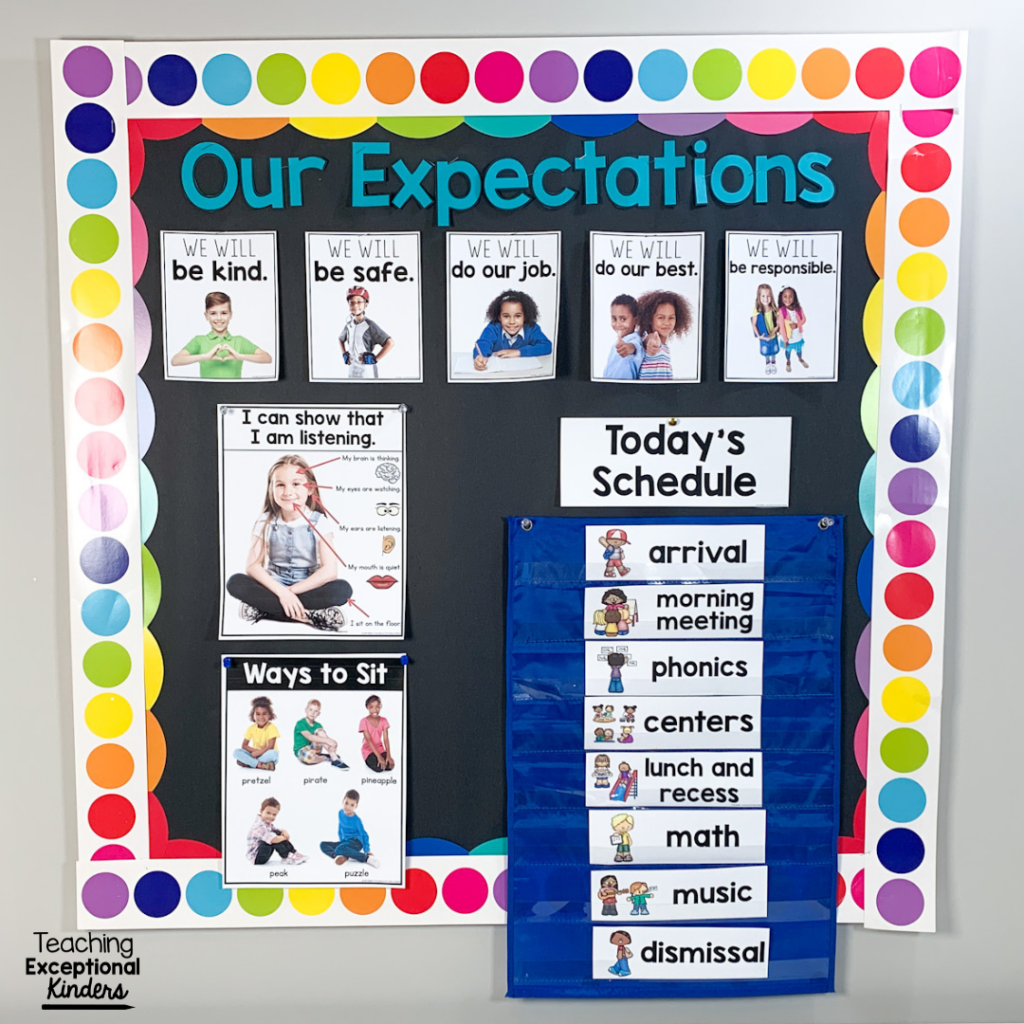
If you’re planning on introducing voice level expectations in your classroom this year, here are five tips for making it go more smoothly.
1. Explicitly Teach Voice Level Options
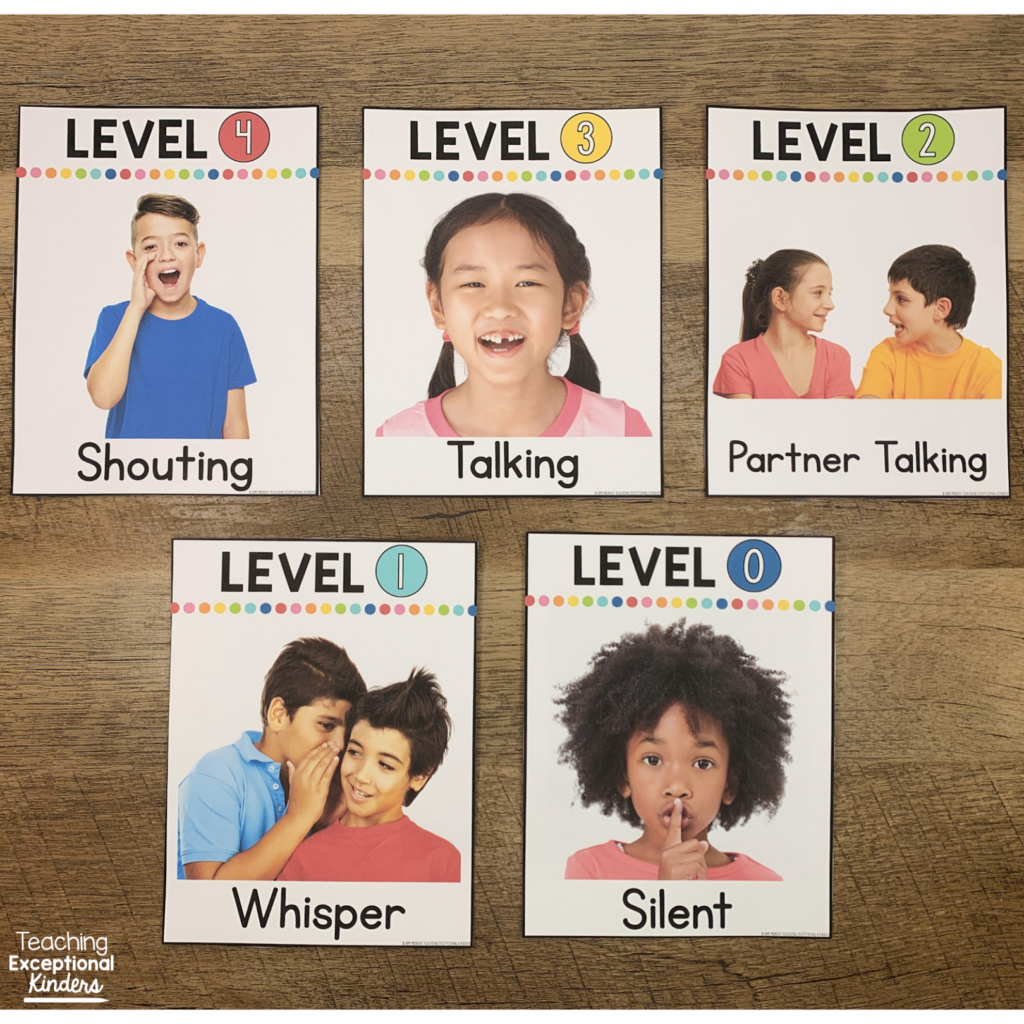
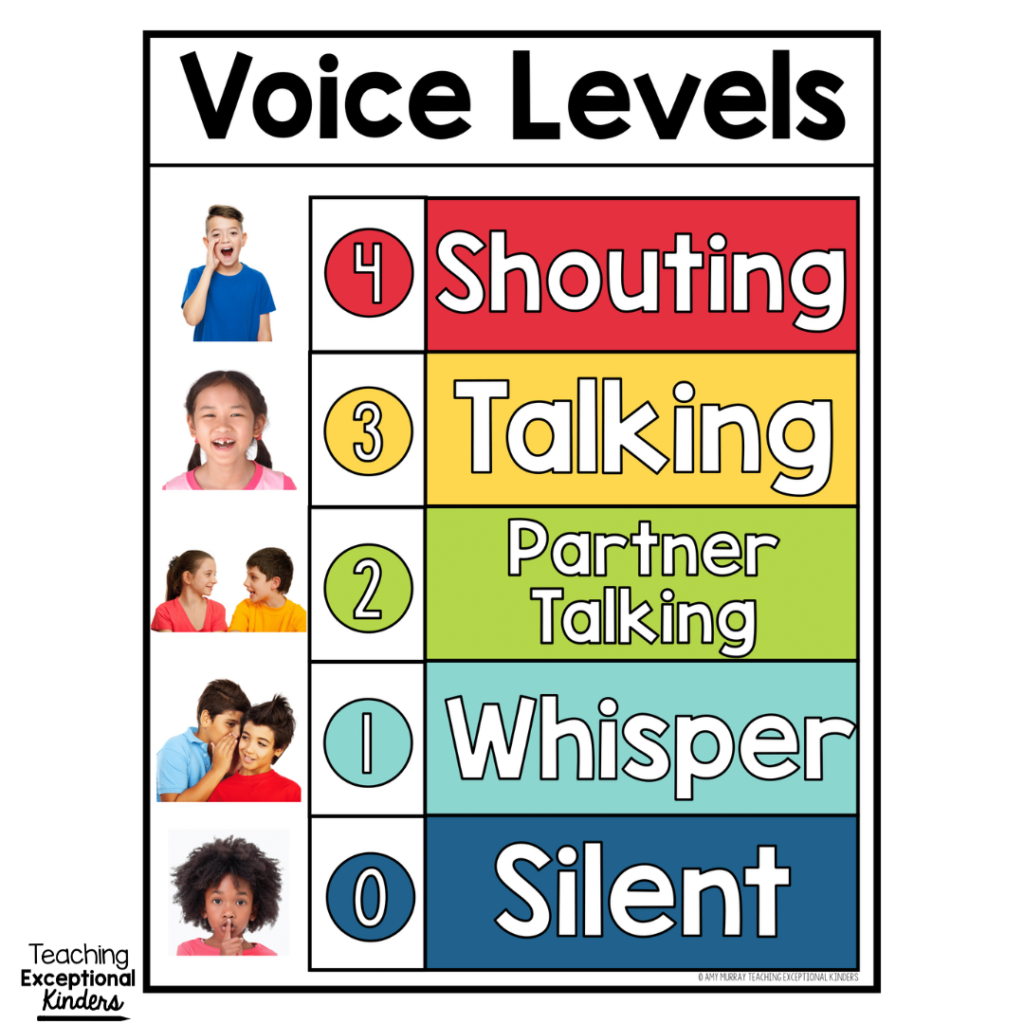
Don't plan on just reviewing voice levels in the moments they're needed. I know it can be challenging to find the time at the beginning of the year to explicitly teach voice level options, but it’s important to outline your expectations. Teach all of the voice level options at once, so students can see them in relation to each other. These are the voice levels that I use:
- Level 0: Silent
- Level 1: Whisper
- Level 2: Partner Talk
- Level 3: Talk
- Level 4: Shout
You might decide to call “partner talk” something different if it makes more sense for your classroom. I have found that it’s a good term to use if your students will be doing any turn-and-talk during group instruction time.
2. Model and Practice
As you explicitly teach each voice level to your students, be sure to model how they sound. Then give students a chance to practice it themselves, so they can experience what it feels and sounds like to use that voice level.
It’s also helpful to revisit the modeling and practicing before the voice level is used. For example, if you’re getting ready to start centers you can remind students to use Level One voices and briefly have students practice their whispers. It only takes a little while for students to catch on and they will understand exactly what you mean when you refer to the voice levels.
3. Address All Voice Level Options
It might be tempting to teach only the voice level options that will be used in your classroom. Why introduce an option to students that isn’t an acceptable voice level for school? There are actually two reasons! First, it completes the voice level scale for students when they can see all of the voice levels in relation to each other. They can see that a Level 3 Talk is NOT simply the loudest they can speak; there is actually a louder option that they won’t be using in class. (Be sure to reinforce that a Level 4 voice is not something they will ever need to use in the classroom. It’s probably not even a voice level they need on the playground since a shout might make a staff member think that something is wrong.)
Second, it can also help you address noise level challenges in the classroom. You are able to point out the current voice level students are using (which might be a shout!) and then remind them of the voice level they should be using. This is when visuals can come in handy!
4. Use Visuals
As with other aspects of classroom management, visual supports are extremely helpful in teaching and reinforcing expectations for voice levels! As mentioned above, a visual support can help you redirect students when needed. You don’t need to add to the noise when addressing the volume of your classroom!
Voice level charts with actual photos of students are helpful for kids to understand your expectations. Visuals also make it easier for students to meet your expectations, since they can quickly look at the chart as a reminder of what they should be doing at each voice level.
5. Set Up Students for Success
After you’ve given your class a chance to learn about and practice voice levels, it’s time to put it into practice! Be sure to set up your students for success by choosing a realistic voice level for the different activities in your classroom. It’s just not realistic to expect silence during literacy centers! It will be a frustrating experience for everyone.
Plus, appropriate amounts of talking can make learning more cooperative and effective. When students know that they can quietly seek input from peers, it can support their learning more than being silent. The key is to ensure that they know the appropriate voice level to use and why.
Printable Voice Level Charts for the Classroom
I have created a set of printable resources to make it easier for you to introduce and reinforce classroom voice levels. The printable voice level chart also comes with a variety of other visual supports to help you set up classroom expectations. You can find this set of printable resources in the Teaching Exceptional Kinders shop or on TPT.
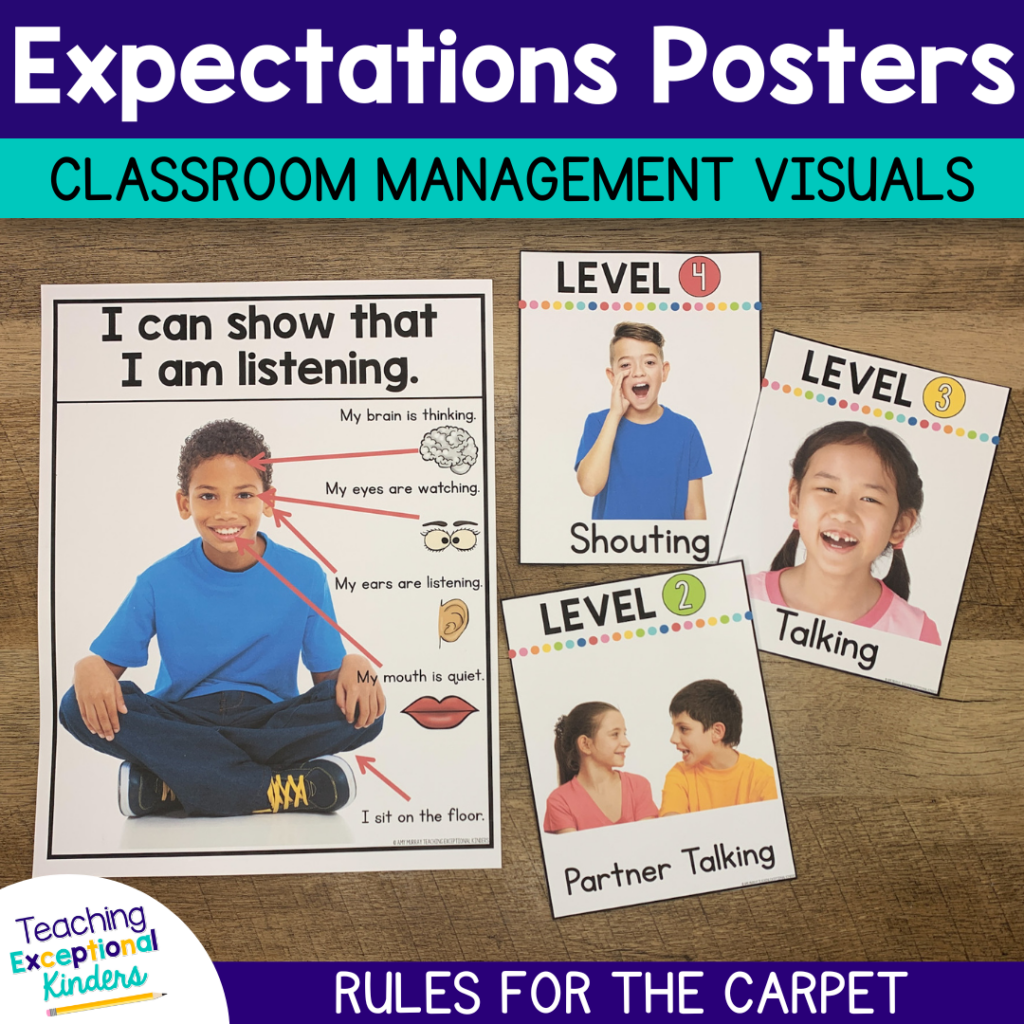
These voice level charts are also included in a larger bundle of Classroom Visual Supports for Kindergarten. This bundle has everything you need to help your classroom run more smoothly using visual supports!
More Tips for Teaching Voice Levels in the Classroom
For even more tips for teaching voice levels in the classroom, check out this video! If you haven’t already, be sure to subscribe to my YouTube channel for even more quick tips for busy kindergarten teachers.
Save These Tips for Teaching Voice Levels in the Classroom
If you’d like to come back to these tips and resources later, be sure to save this post! Just add the pin below to your favorite teaching board on Pinterest. You’ll be able to quickly find this post when you’re looking for ways to teach voice levels in your classroom.
Amy
SITE DESIGN BY LAINE SUTHERLAND DESIGNS

