
With all of the positive behavior reward systems available to teachers, it can be difficult to find the right reward idea for your class. Sometimes an individualized reward system is the best option, but that can feel daunting when implementing several individual reward systems at once. That is why I love to use low prep, easy-to-customize sticker charts! In this post, I’m going to share with you some tips on how to use sticker charts effectively in the classroom.

What is a Sticker Chart?
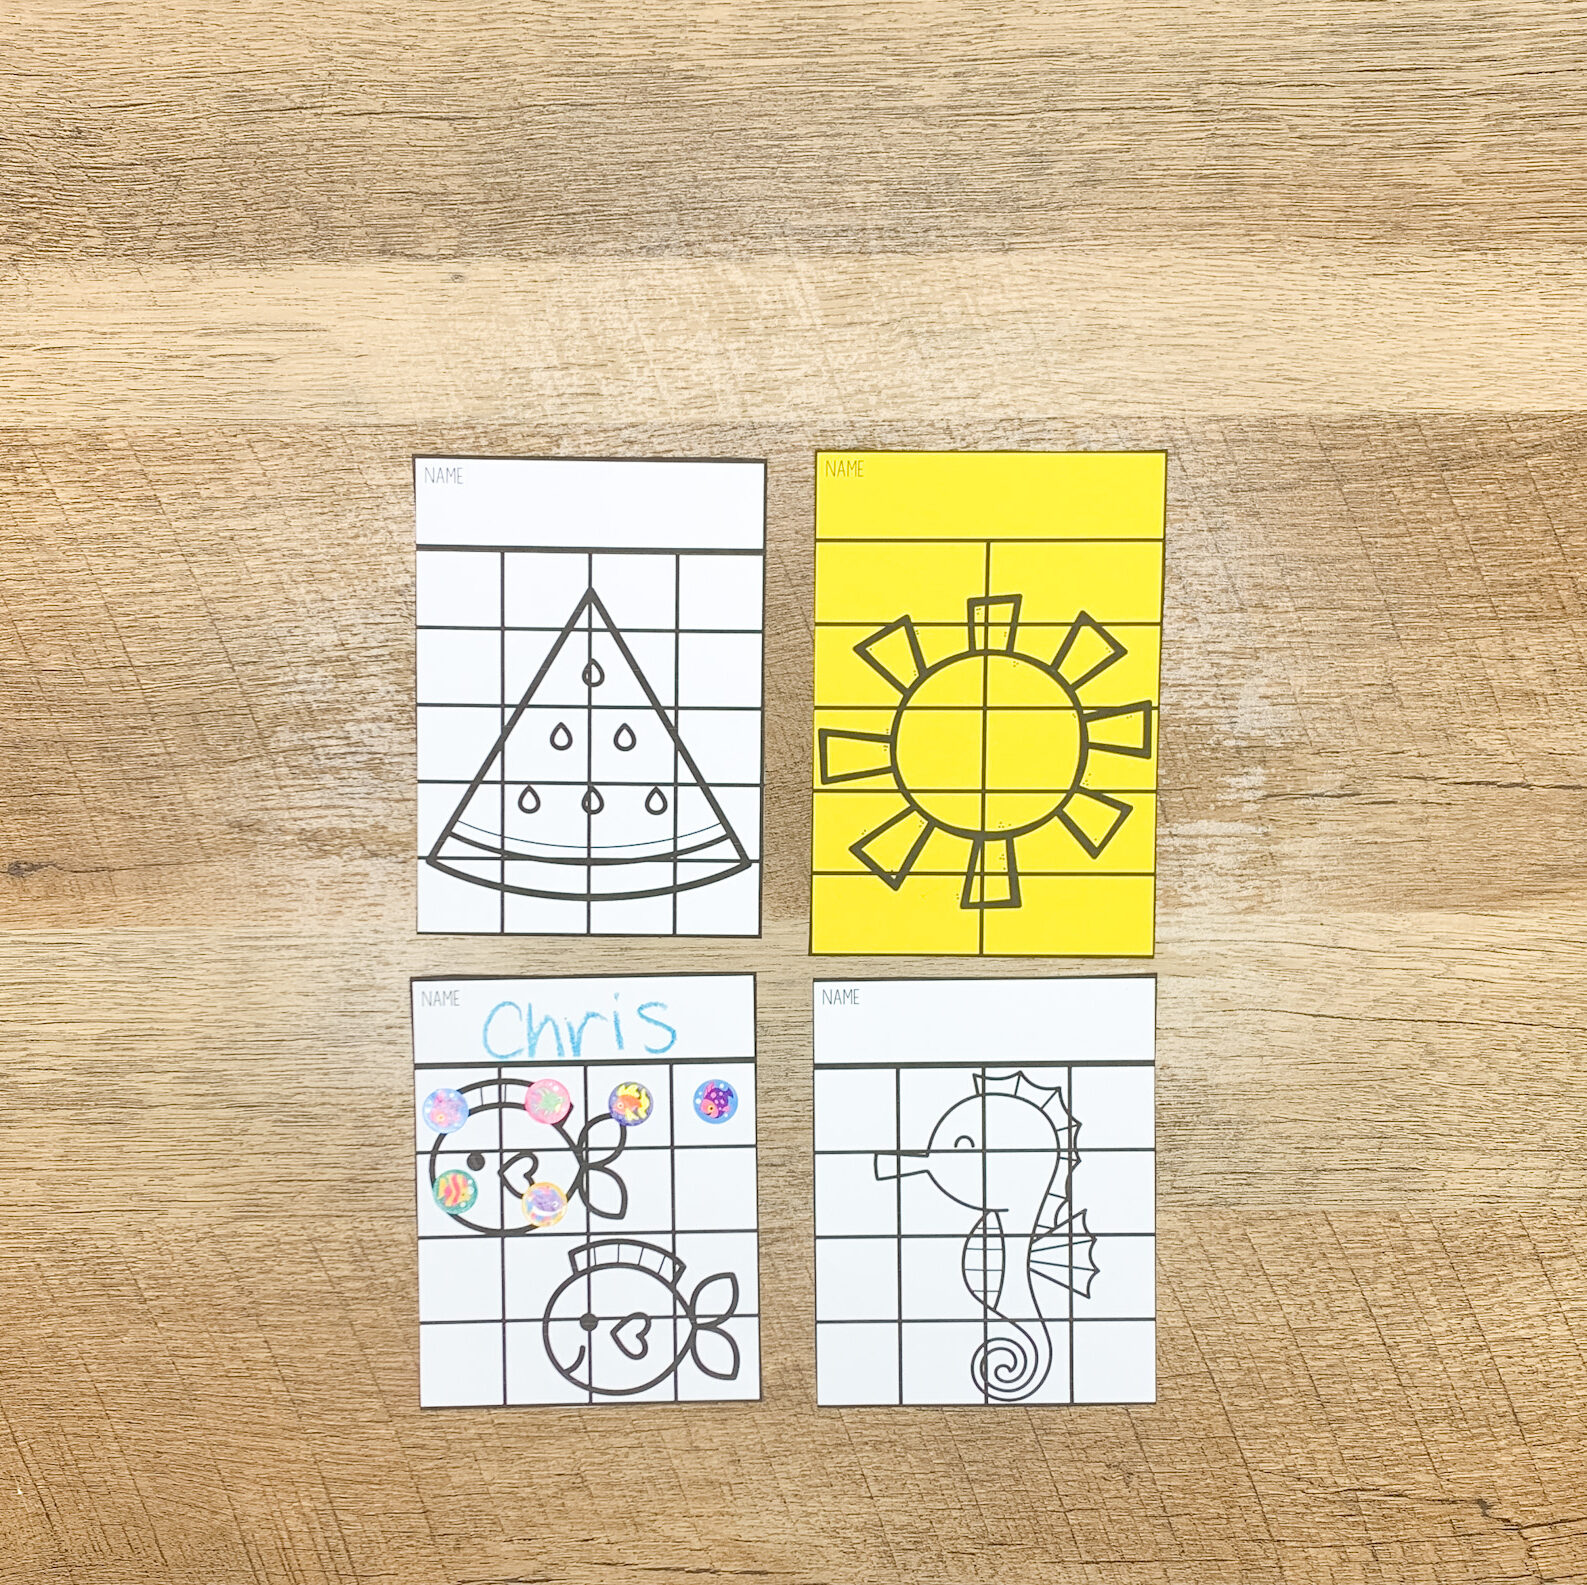
A sticker chart is a type of positive behavior reward system that is often used in elementary classrooms. Sticker charts are typically used as an individualized reward system based on specific behavior goals. Students are given stickers when they display a target behavior and these stickers often lead to an additional reward. For example, a student might be able to choose from a prize box for every ten stickers earned.
Do Sticker Charts Work?
Sticker charts can be an effective way to reinforce positive behavior in the classroom. Students love the opportunity to work toward a reward and feel the positive effects of exhibiting target behaviors. However, there are times when sticker charts can be frustrating, distracting, and ineffective for young students. This happens when sticker charts are used incorrectly in the kindergarten classroom. Luckily we can avoid this by following just a few simple steps for using individual reward charts.
How to Use a Sticker Chart in the Classroom
There are five important steps to follow when implementing individual sticker charts in the classroom. However, these general guidelines can also be applied to whole-group incentives!
Step One: Identify the Target Behavior
The most important part of any reward system is to identify a target behavior. Just one! Remember to reward the existence of a positive behavior rather than the absence of a negative behavior.
Another thing to consider is whether or not the target behavior requires any subjectivity or judgment. t can be frustrating for a student to feel like they are exhibiting “good” behavior but the teacher has a different opinion of what “good” means. It should be clear to both the student and teacher what the positive behavior looks like, such as remaining in expected areas. I
Step Two: Choose a Motivating Reward
The next step is to choose a reward that’s actually motivating for the student. This includes the chart itself! Some students love sticker charts, while others might prefer to color in a chart with crayons. You will also want to identify what the student is working toward with the sticker chart and how often they will receive a reward. Each student has a different threshold for delayed gratification, so choose an interval that works for the student (such as every five stickers or every ten stickers).
When rewarding the student, it is also helpful to point out some of the other positive effects of exhibiting the behavior. This shows them that their behavior matters and contributes to the classroom climate. For example, remind the student that he or she earned a sticker for sitting in an assigned spot during carpet (the target behavior). Then mention that this also helped Johnny be able to see the book because the student stayed seated during the story.
Step Three: Be Consistent
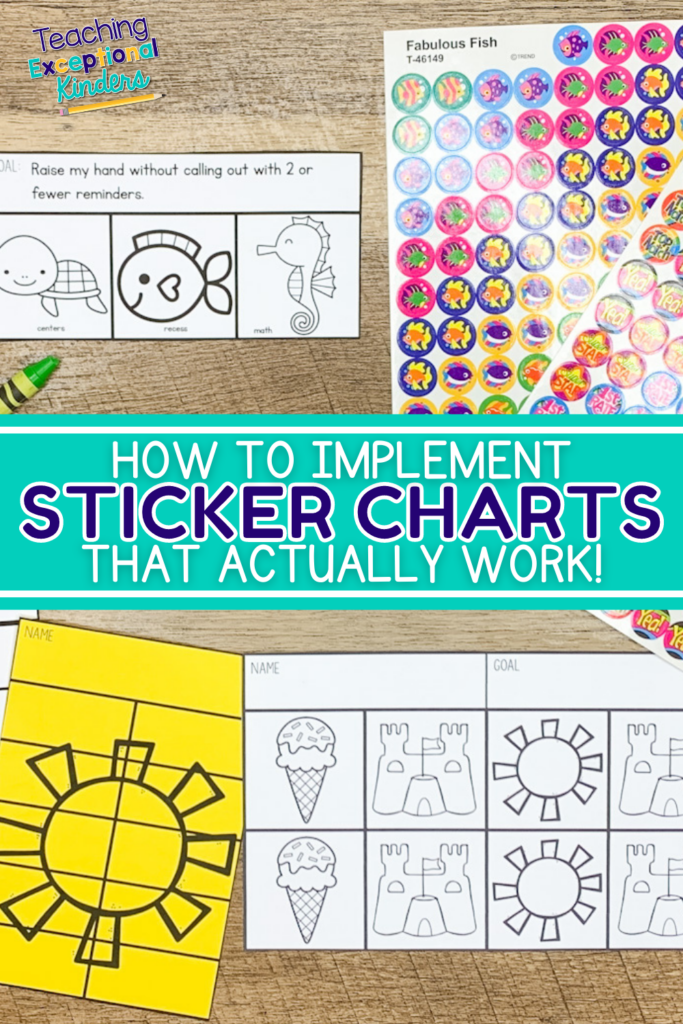
The most important part of any reward system is to be consistent! Place the sticker chart somewhere so that both you and the student can be reminded of the target behavior. If needed, set an alarm as a reminder to add stickers to the reward chart.
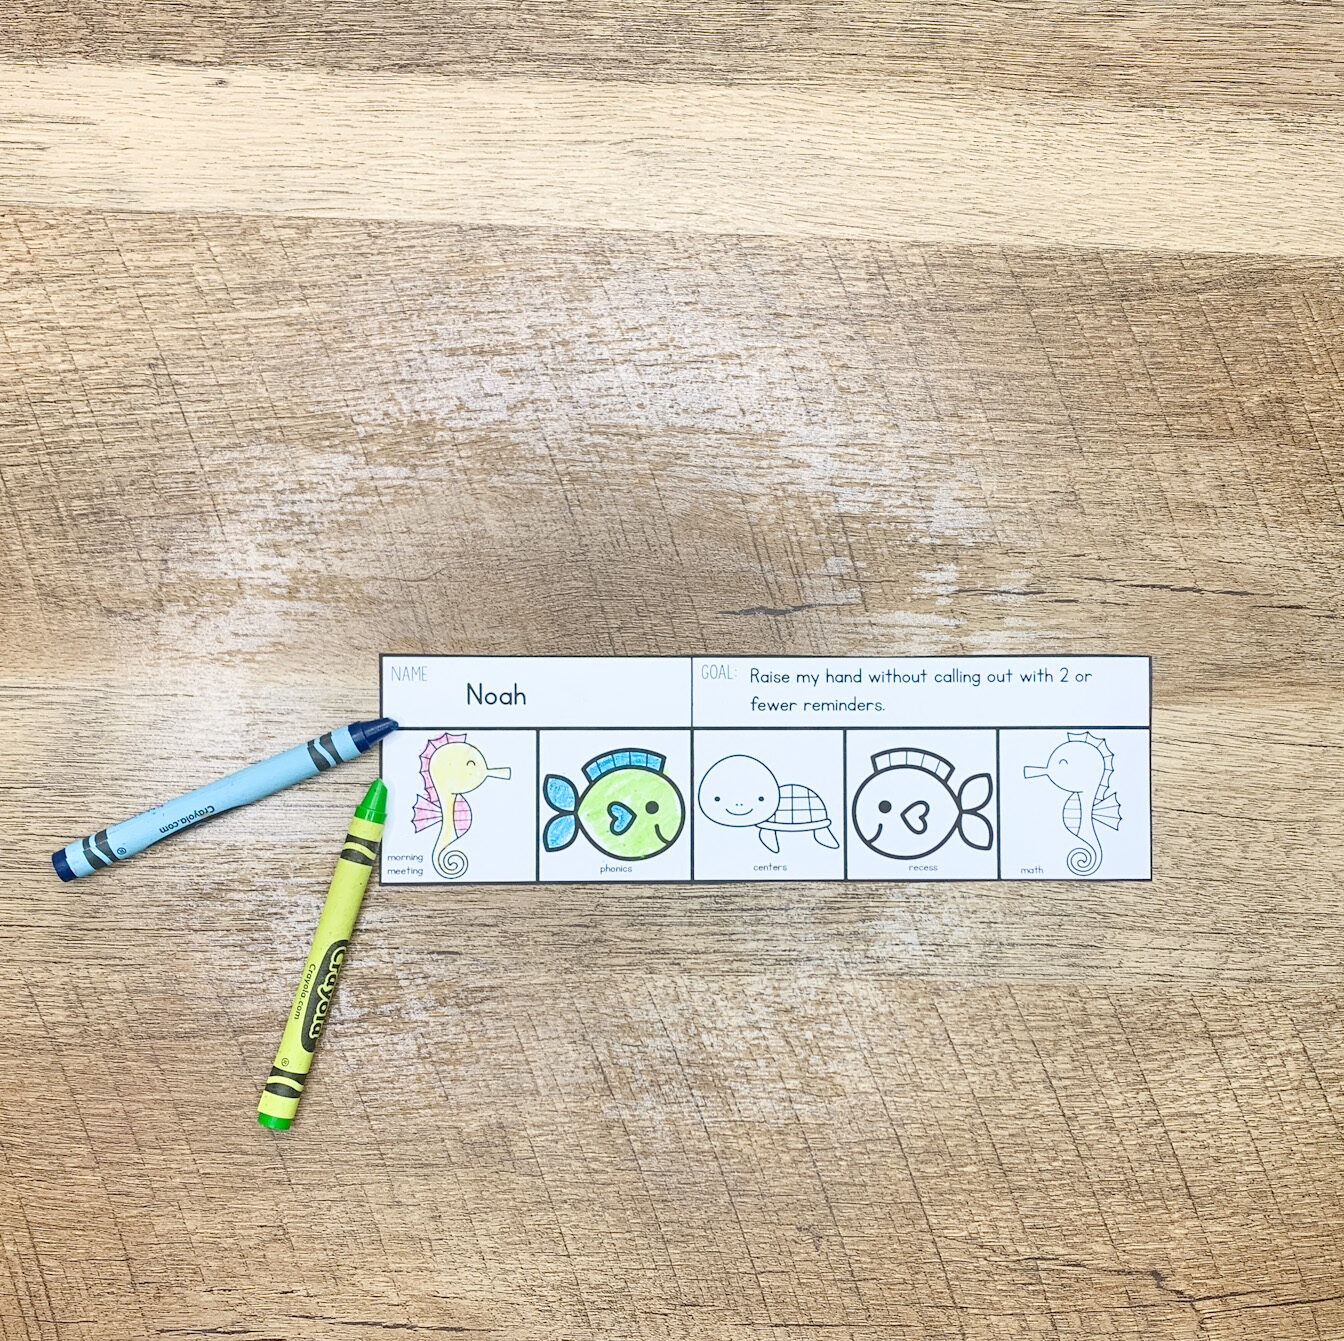
One easy way to be consistent with reward charts is to align the rewards with natural transitions during the day. For example, this coloring reward chart is split up into the different instructional times of the day. This way the transition time serves as a reminder to check the reward chart.
Step Four: Keep It Fresh
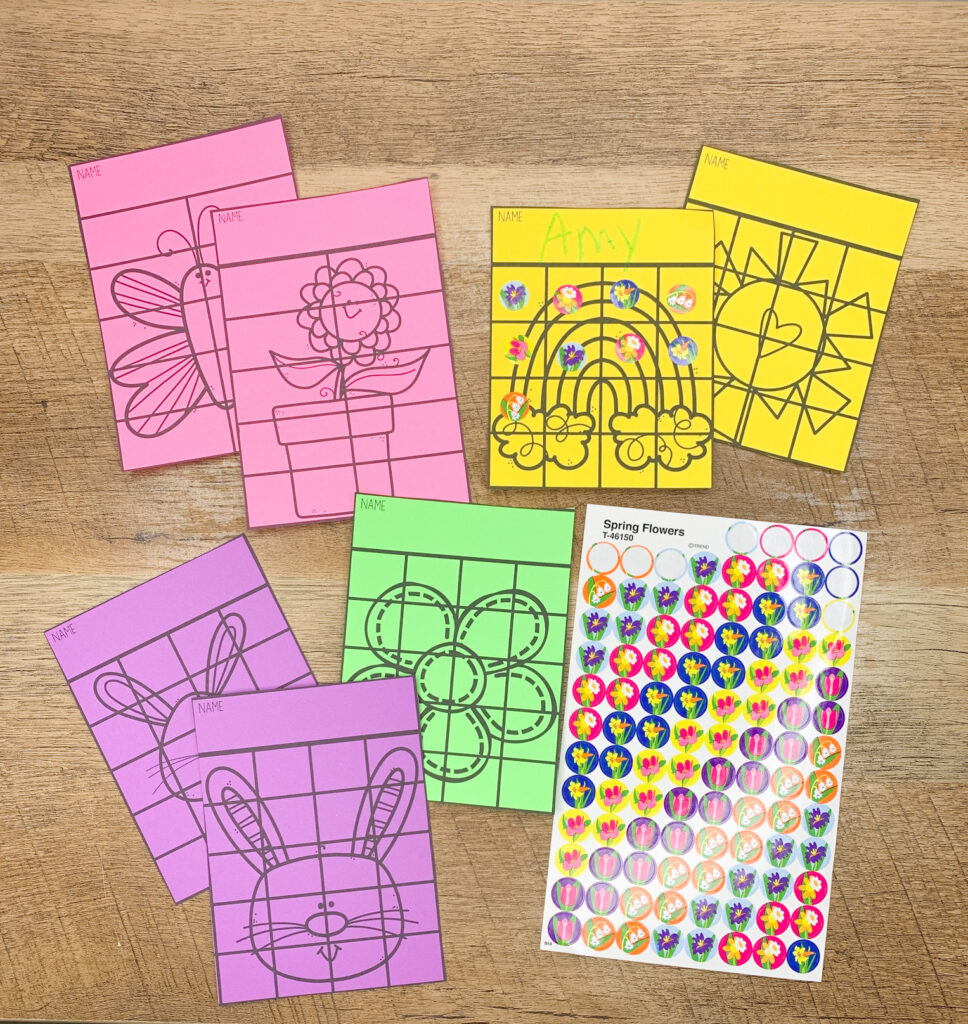
Consistency is important, but it’s also helpful to keep the reward system fresh and exciting for students. An easy way to do this is to switch out the sticker charts for each season and include corresponding stickers. It’s amazing what something as simple as new clip art on a sticker chart can do to keep students engaged in the reward system!
Another way to keep your reward system fresh is to switch out what students earn with their stickers. It can also be helpful to gradually move the rewards from more to less tangible, which can help students to become more intrinsically motivated to exhibit expected behaviors. This leads us to the final step of effective sticker charts.
Step Five: Monitor and Move On
The goal of any tangible positive behavior reinforcement is for the student not to need it anymore. Ultimately, we want students to be intrinsically motivated to exhibit expected behaviors at school. Reward systems like sticker charts can be effective stepping stones to this goal, particularly for kindergartners.
This means that it’s important to monitor the effectiveness of the sticker chart and make adjustments as needed. Is the student consistently reaching the goal each day? Then it’s time to increase the expectation or identify a different behavior. Is the student struggling to earn stickers? Consider adjusting the goal by breaking it down into smaller steps or focusing on a different, prerequisite behavior or skill.
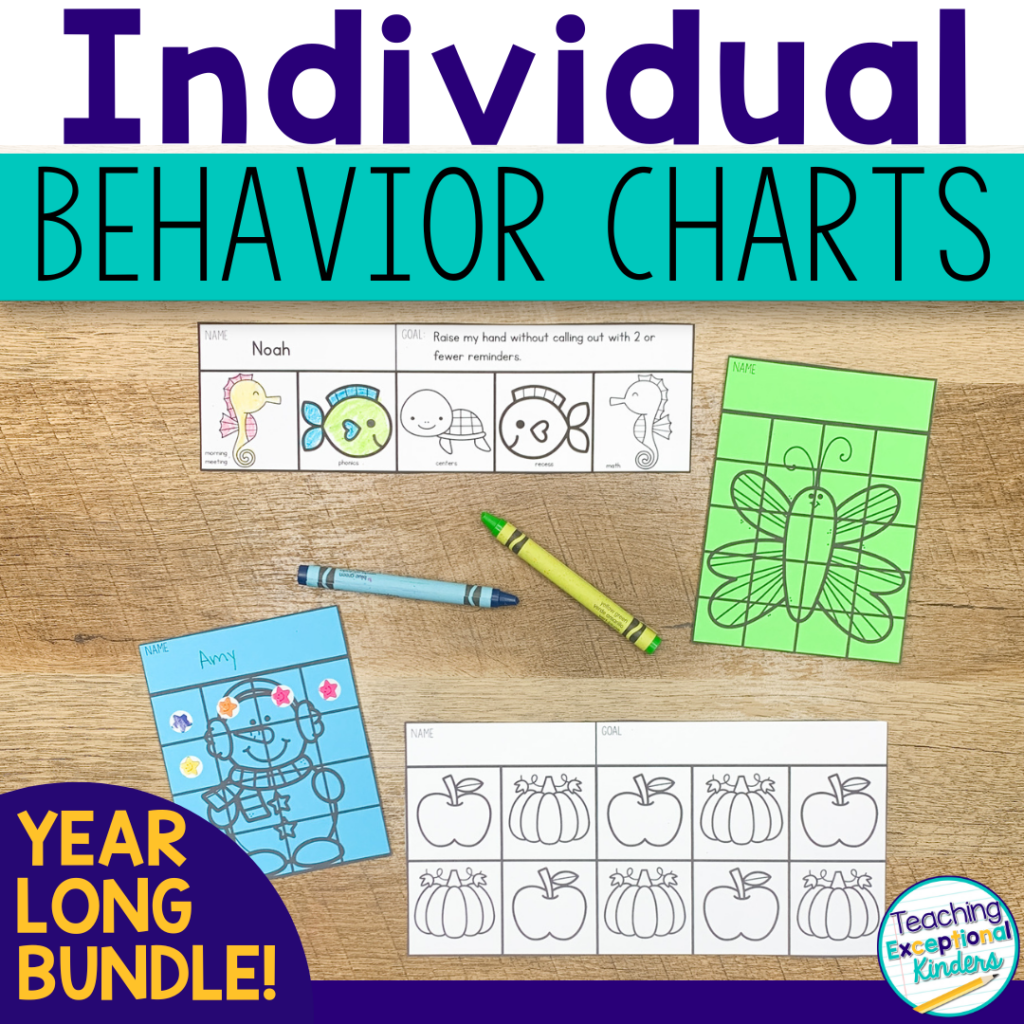
Printable Sticker Charts
Are you interested in using sticker charts with your students? I have created a Positive Behavior Sticker Charts and Individual Behavior Charts Bundle! These charts are themed for each season, so you can keep the rewards fresh throughout the school year. Each sticker chart option comes in different layouts to best support the goal and reward of each individual student (10, 16, or 20 sticker spaces). The coloring behavior charts are editable, with space to type the student’s name and the goal.
You can find this bundle in the Teaching Exceptional Kinders shop or on Teachers Pay Teachers.
Save These Sticker Chart Tips & Resources
I hope you find these tips and resources helpful! If you’re short on time, be sure to save this post to your favorite teaching tips board on Pinterest! You’ll be able to quickly find it when you’re ready to implement sticker charts in your classroom.
One Comment
Cute!
Comments are closed.