How to Set Up a Kindergarten Sound Wall
Research has shown that sound walls are more meaningful resources for students than traditional word walls. Are you interested in making the switch, but aren’t quite sure of where to start? This post is for you! I’m sharing tips for setting up an effective kindergarten sound wall that will support phonics instruction in your classroom.
What is a Sound Wall?
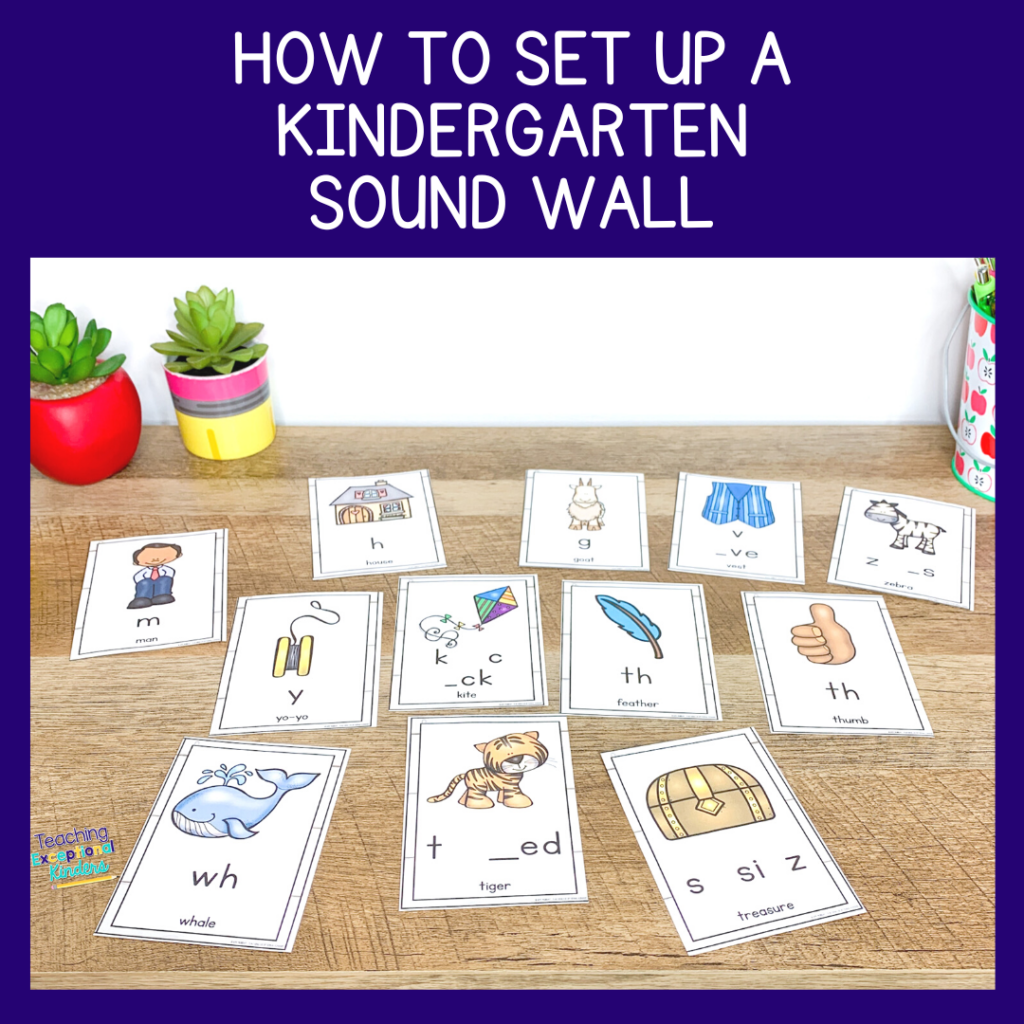
A sound wall is rooted in the Science of Reading. It is a way to organize phonemes and spelling patterns, grouped by phonemes instead of beginning letters. Reminiscent of a traditional word wall, a sound wall is a resource that students can more easily navigate with developing phonics skills, especially when they need help with spelling. I have written several posts about the basics of sound walls if you’d like more detail.
Challenges When Setting Up a Kindergarten Sound Wall
Before we talk about the steps for setting up a sound wall in kindergarten, I wanted to share a few challenges that you might encounter along the way. Don’t worry! I’m also going to share an easy way to avoid all of these challenges with one resource.
Challenge #1: Indecision – This is one the biggest challenges that I see when teachers are interested in setting up a classroom sound wall. Where should it go? Should it have words on it? Is it better to use illustrations or real photos? Do I need to take down my word wall? This indecision is common and completely understandable since sound walls can be a big change for teachers!
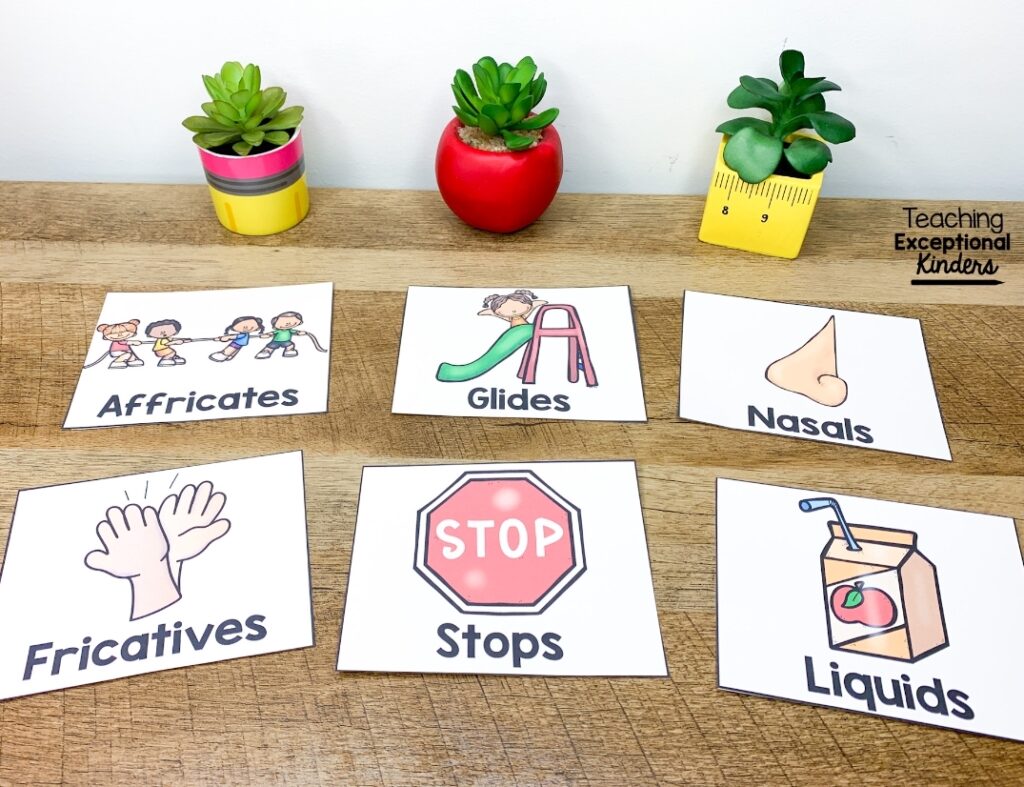
Challenge #2: Grouping – For teachers that are used to the alphabetical order of word walls, the grouping of sound walls can take some getting used to. There is a specific way to organize a sound wall to make it easy to use and reference. When teachers are setting up a sound wall for the first time, it can feel like a foreign language as they try to create groups of fricatives, liquids, and glides!
Challenge #3: Consistency – Once the sound wall is all set up, the next challenge is to actually use it! Many teachers find that it can be difficult to consistently introduce phonemes and spellings for the sound wall. More often than not, the phonics instruction is happening but it’s not reflected on the sound wall for students to reference later. When a sound wall is not regularly discussed in the classroom, it is unlikely that students will actually use it when they are working independently.
How to Set Up a Kindergarten Sound Wall
I have created a mini-course that will take all of the confusion and guesswork out of setting up a sound wall in your classroom. I address all of the challenges above with lessons and resources that you can use to get that sound wall up and running in no time! Here are five steps for setting up a kindergarten sound wall, which are also discussed in more detail in the Successful Sound Walls course.
1. Make Decisions
The first step in setting up a sound wall is to make some important decisions, like the location of your sound wall. You want to make sure that the sound wall is visible and easy to reference. You’ll also want to decide whether you want to use real photos or illustrations for your sound wall cards. The Successful Sound Walls course has plenty of training videos and printable resources to help you make these decisions!
2. Set Up Consonant Sound Wall
Once you’ve made those initial decisions about your sound wall, it’s time to get started with consonants! When you set up a consonant sound wall, it’s important to have the cards grouped by phoneme groups as well as individual phonemes.
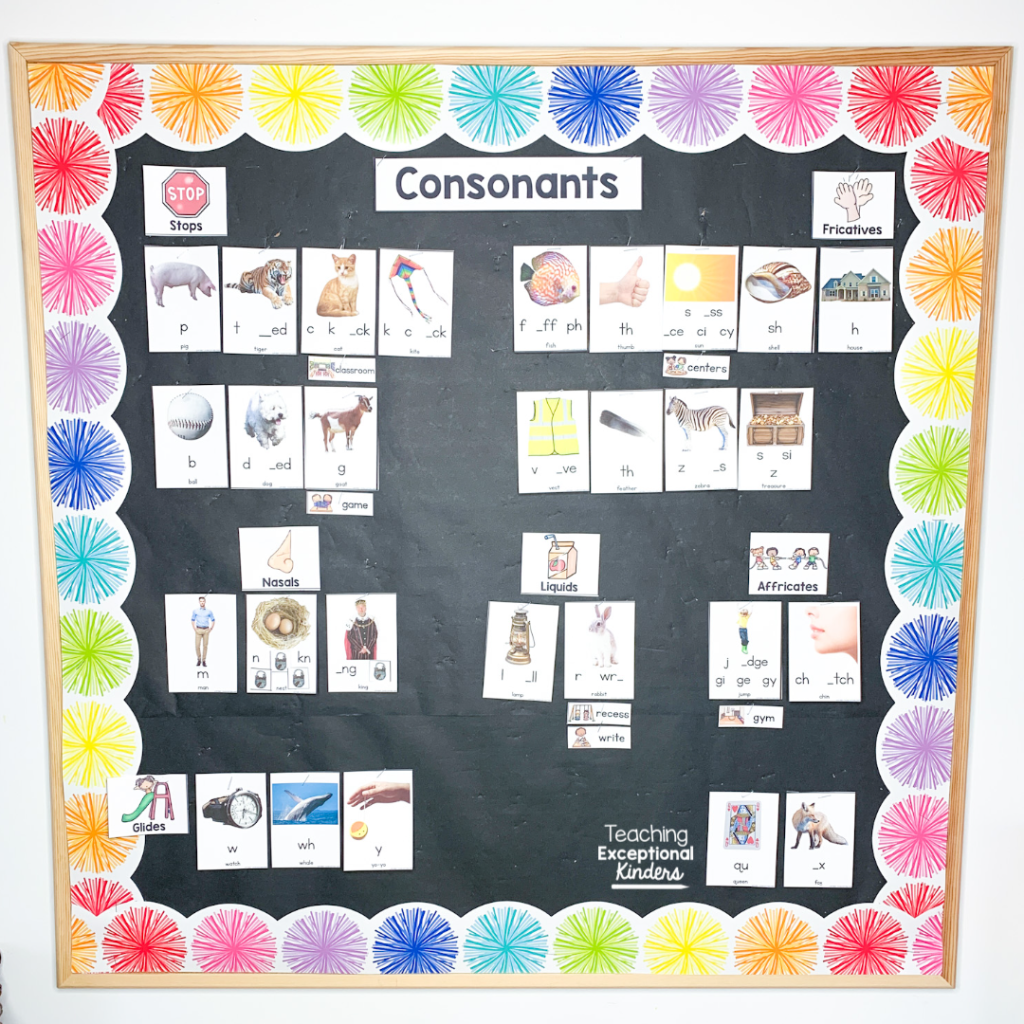
Labels are very helpful for this, which I’ve included in the course. Plus, I provide a phoneme guide and training videos to help you set up your consonant sound wall with confidence!
3. Set Up Vowel Valley
We can’t forget about vowels! Once you’ve warmed up to sound walls with your consonant wall, it’s time to set up a vowel valley. The name for the vowel sound wall comes from the distinct way that the sound cards are organized on the wall. The valley shape of the cards is meant to correlate to the mouth shapes (especially the way your jaw drops) that are made when articulating each vowel sound. This makes it easier for students to find what they’re looking for on the word wall!

The Successful Sound Walls course includes all of the articulation cards that you need to organize the vowels. Plus, I walk you through the step-by-step process of accurately setting up a vowel valley.
4. Introduce the Phonemes
Sound wall set-up doesn’t end when the bulletin boards are created! The next step is to introduce the phonemes and sound-spellings to your students.
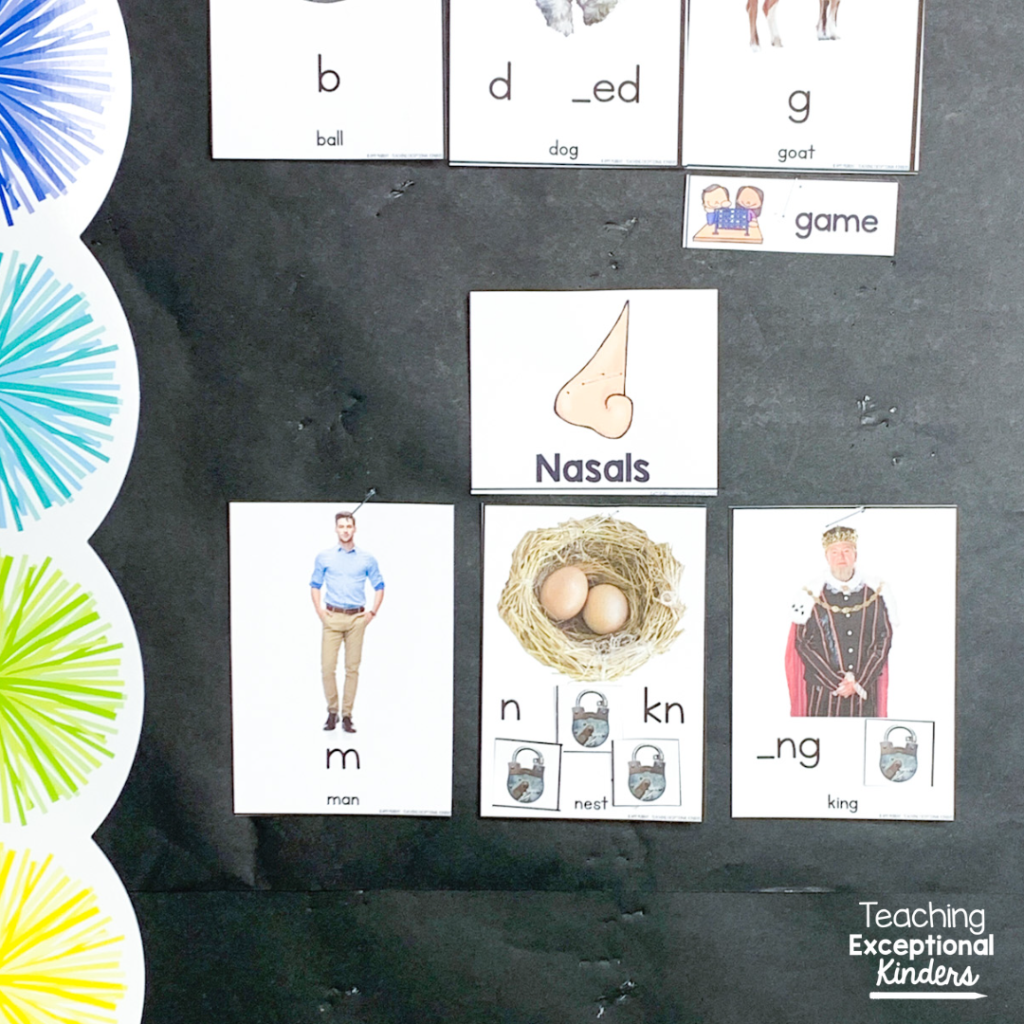
This can be tricky if you aren’t in the habit of explicitly teaching phonemes for display on a sound wall. I have filmed a sample lesson to show you how I introduce phonemes to kindergarten students.
5. Use It!
The final step in setting up a sound wall is to actually use it! A sound wall is only an effective tool if it is referenced regularly by the teacher as well as the students.
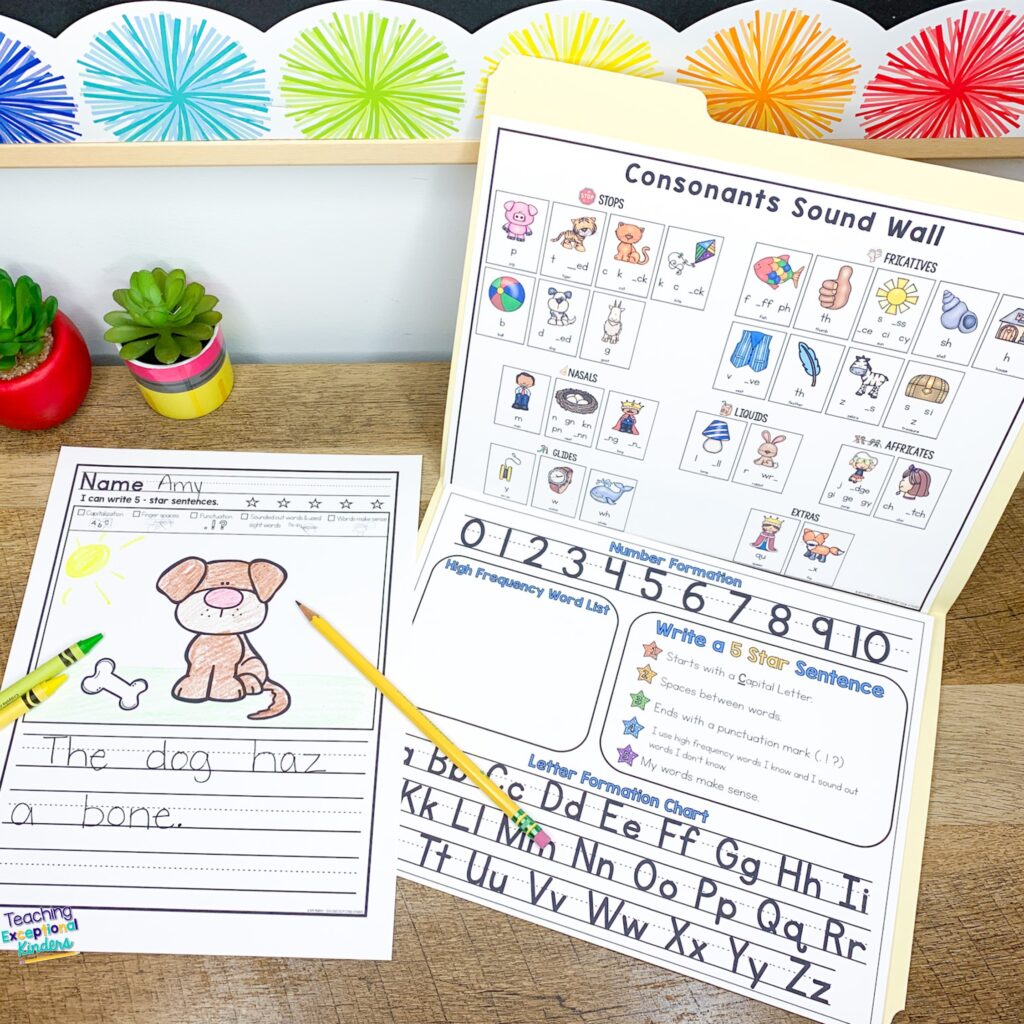
Some teachers find that they are more consistent with sound walls when students have their own portable sound walls to use during literacy centers and writing activities. This is yet another resource included in the course, along with tips for using it effectively.
Successful Sound Walls
If you would like to take a closer look at everything included in this course, check out this video!
Are you ready to grab everything you need to easily make the switch to a sound wall? I have compiled a list of frequently asked questions and other information about the Successful Sound Walls course to make it easy for you to decide if this is the right resource for you. Whether you’re completely new to the Science of Reading or you’re looking for a refresher, this course is a great option!
Save These Tips for Setting Up a Kindergarten Sound Wall
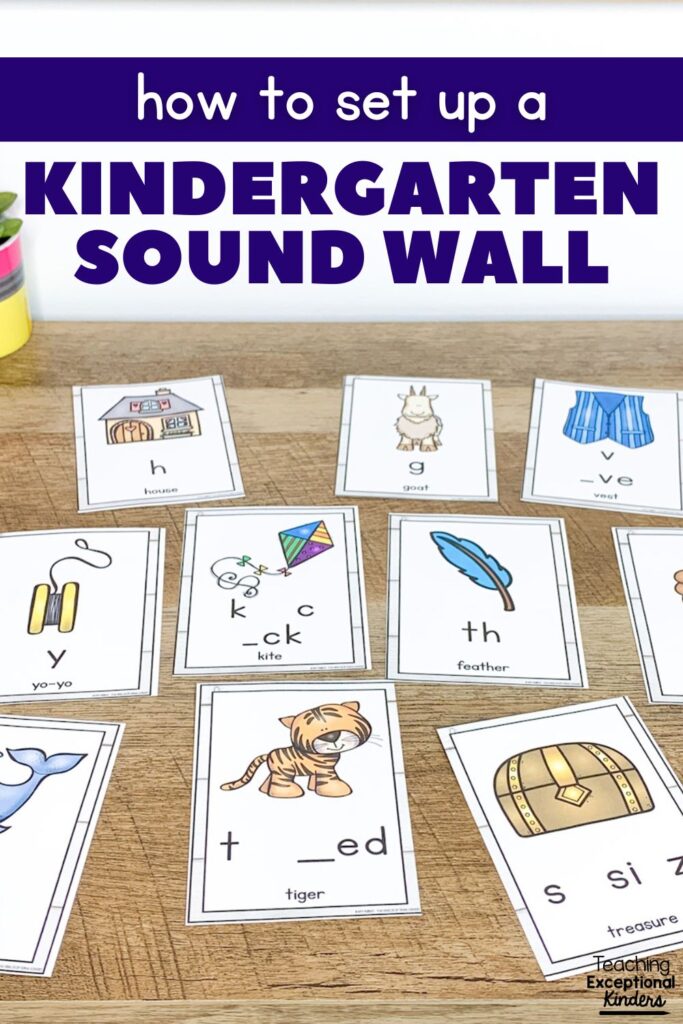
Be sure to add the pin below to your favorite teaching board on Pinterest. You’ll be able to quickly find this helpful course when you’re ready to set up your kindergarten sound wall!
Amy
SITE DESIGN BY LAINE SUTHERLAND DESIGNS

